Getting started
Importing archives
Place your archives in the content/ directory and import them using the
command-line interface:
$ hircine import
As hircine can identify an archive by its contents, subsequent import jobs
won’t import the same archive again. Archives may also be renamed or moved
freely within the content/ directory; the next import job will recognize
these changes automatically. Symbolic links will not be followed.
Note
For a more technical breakdown see Import process.
Adding comics
Once the import job has finished, navigate to the archive tab in the web application and hit the refresh button [1] to load the newly added archives. Next, navigate to the archive that contains the comic you want to add. You’ll be presented with an tabbed pane on the left and all the pages in the archive on the right.
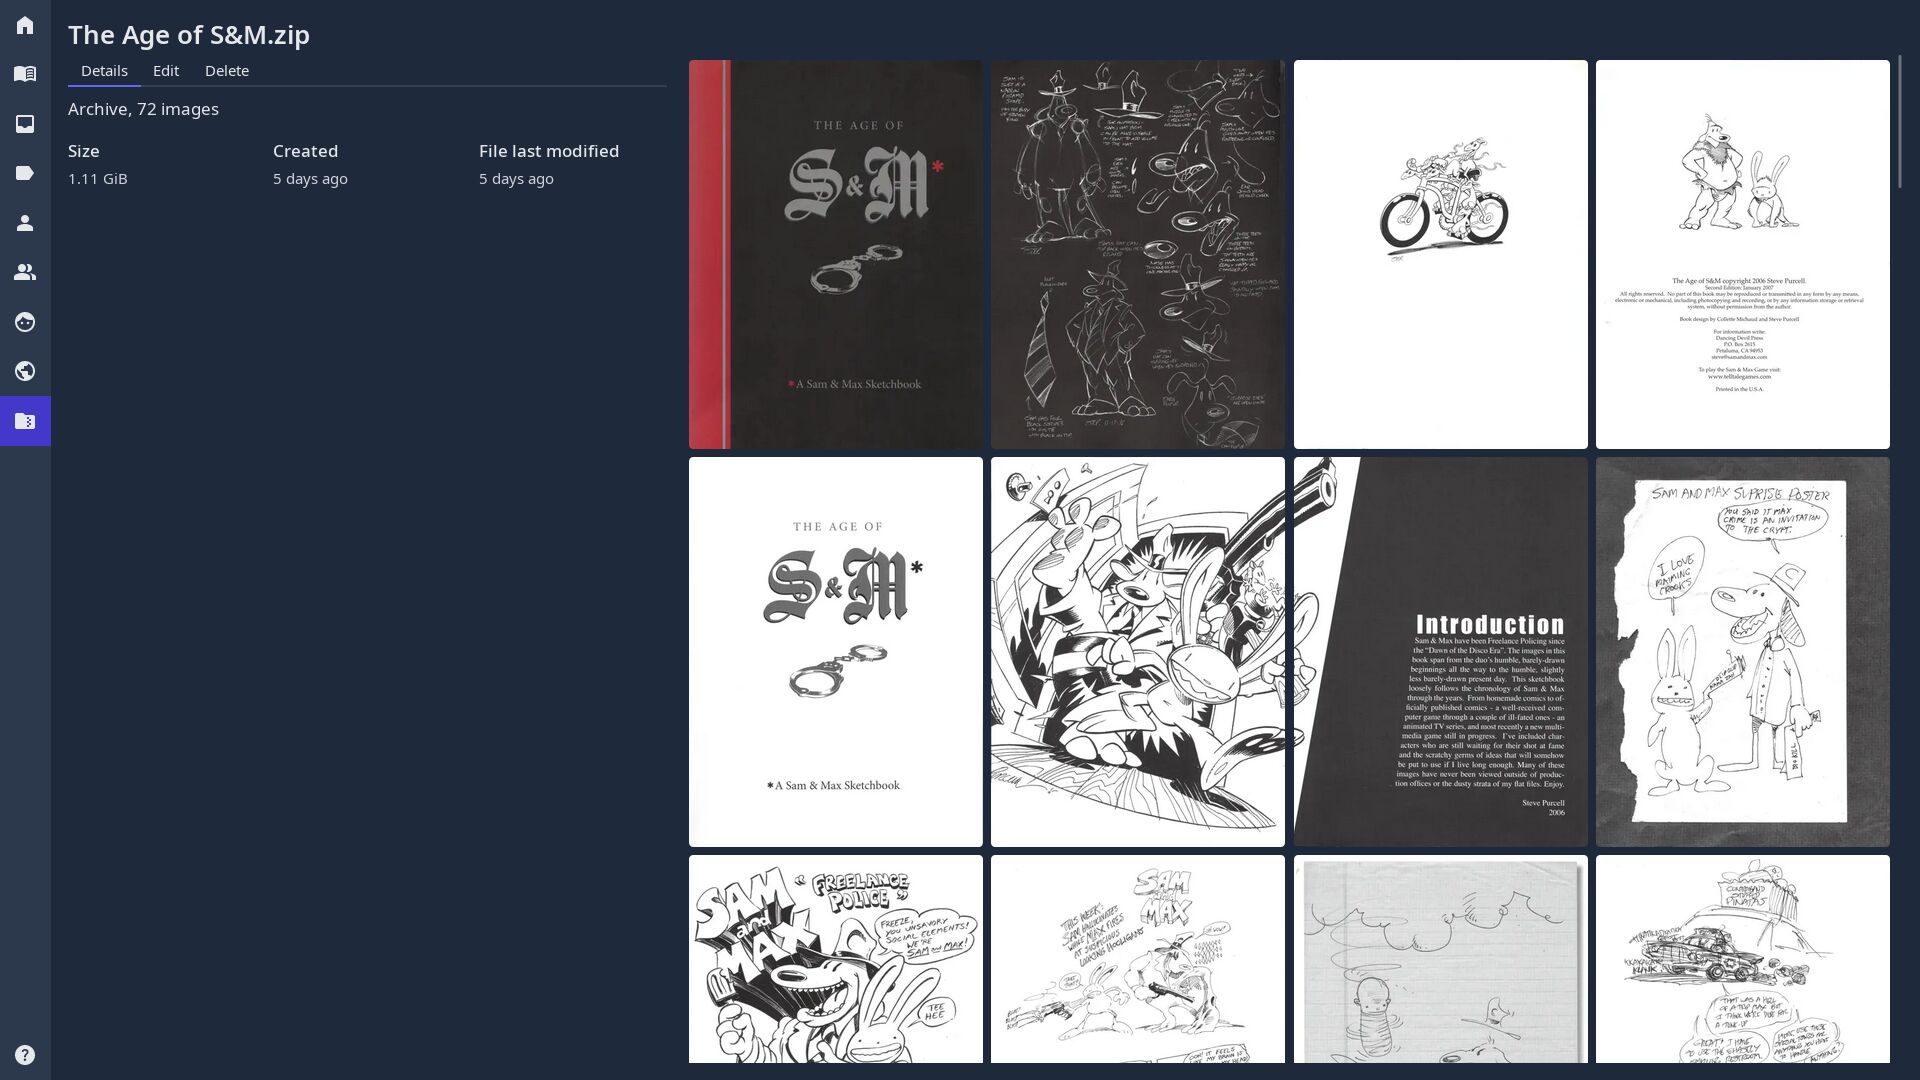
By default, the pane shows the Details tab. Here you can see basic information on the archive and, once added, a list of comics from this archive. Clicking on a page will open the reader interface.
Note
Once a comic has been added, you may specify its reading direction and page layout. However, in archive view, the reader always defaults to left-to-right single-page. For more information on the reader interface, see Reading.
To add a new comic, navigate to the Edit tab and click the button to enter selection mode. Now, instead of opening the reader interface, clicking on a page adds it to the current selection.
Tip
When in selection mode you may use Ctrl+Click to access the reader interface instead.
Select all pages that you want to add to a new comic and click the Add button that has appeared. The newly added comic will appear below and the selection mode exits. You may now add further comics by the same process, or add pages to an already existing comic by clicking on the Add button that appears over each comic.
Tip
Once all relevant pages from an archive have been allocated, you may mark the archive as “organized”. This will automatically happen once the last page has been added to a comic.
Next, click on the newly added comic.
Editing comics
Comics use the same layout as archives - a tabbed pane on the left and comic pages on the right. Just like before, clicking a page will open the reader. Navigate to the Edit tab to start annotating the comic with metadata.
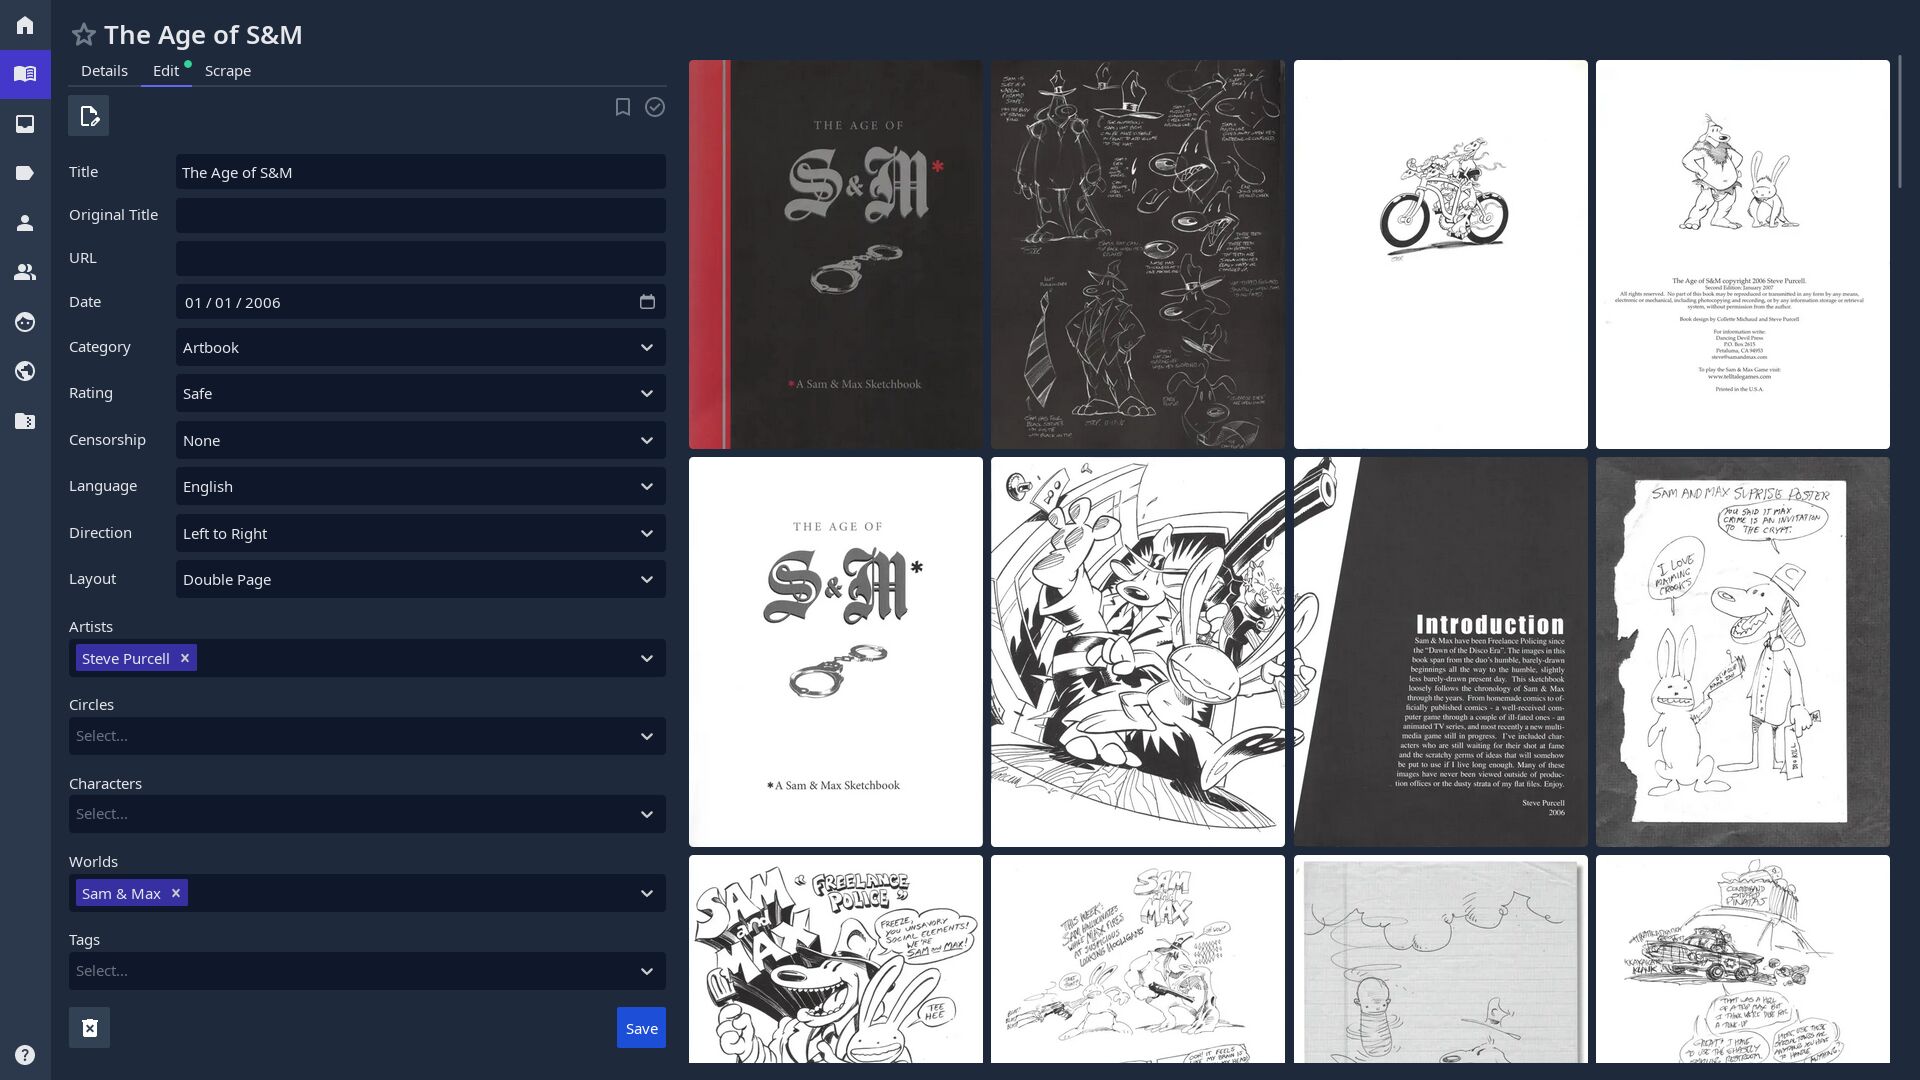
The top section of the edit form controls basic information about a comic, whilst the bottom section contains dropdown fields for the user-managed metadata categories. The picture above shows two categories that already have a selection, but for you these lists will be empty.
Adding metadata
To add new metadata entities, navigate to the respective tab in the web application and hit the Add button in the top right corner. Alternatively, new entities may be added at any time using shortcuts.
Let’s add a new character. Hit nh on your keyboard, type in the character’s
name in the modal that appears and confirm by clicking on Save or hitting the
Enter key. The character is now available in the Characters dropdown.
Select it there and save your changes - the comic is now tagged with this
character.
Removing comic pages
Comic pages may be removed in the Edit tab by entering selection mode,
selecting the pages that should be removed, and clicking the Remove selected
pages button or hitting Delete. Removed pages will be available again for
allocation in the archive.
Setting the cover
The cover of a comic or an archive may be set at any time outside of selection mode by control clicking a page.
Footnotes